 This picture shows four different designs. Starting on the left, I painted the fabric with green remazol (liquid reactive dye from Pro Chemical) mixed with Basilen Fixing Agent (by Jacquard, not sure yet where we buy it, it is supplied to us at school, I'll have to find out before the end of April and the free supplies (aka school) is over for good), oh, mixed in print paste and soda ash too. After that was dry, I mixed up a chartreuse, yellow orange and grass green and used my finger tip to dab it on randomly onto the green... as you can see, green remazol + green reactive = blue.
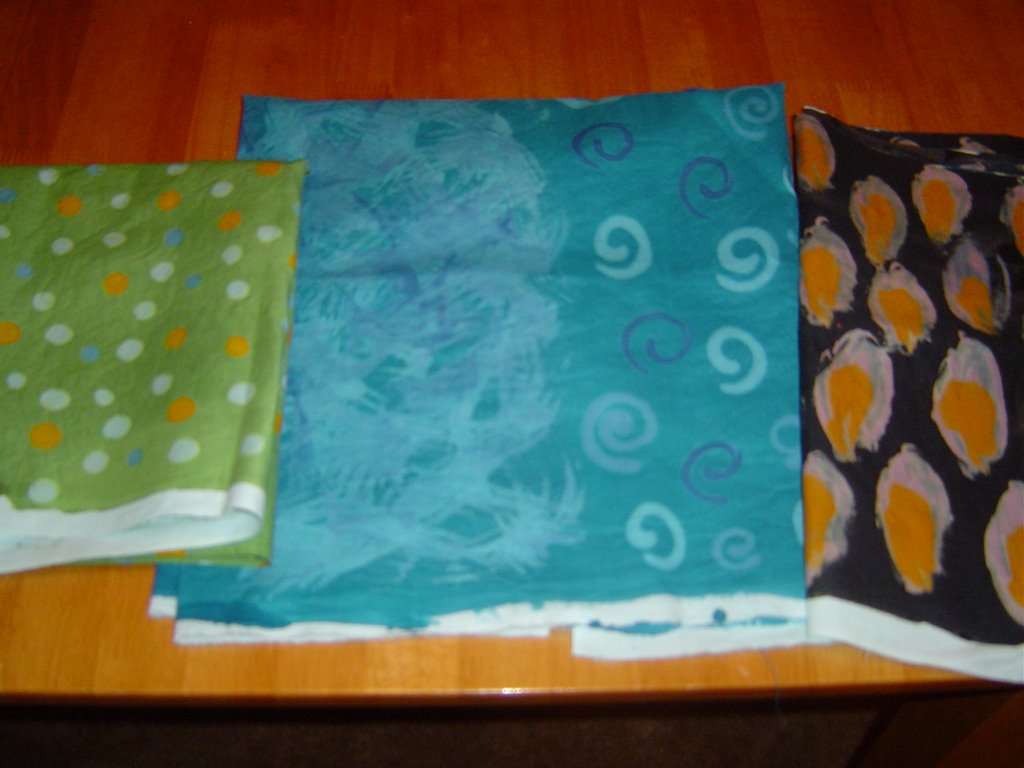
 The next piece has two different designs on it. I painted it with the turquoise remazol first, then mixed up three different shades of blue/purple reactive dyes. The colors on this one turned out exactly as planned. On the left side of the fabric, I used a squirt bottle to just randomly squirt all three colors all over the fabric, and then used a plastic fork to move the dye around and mix it up. On the right side, I used the squirt bottle to make swirlies. These both turned out really well, the halo effect is very cool between the reactive and remazol. should have taken a close up... maybe I'll add one in the next post.
The third piece, all the way on the right was not at all what I expected. I painted it black with remazol, then used GREEN to make big leaf-ish shapes all over, just with my fingers. Then went back and put some of the yellow orange down the center of each shape. So, yet another funky and unexpected outcome: black remazol + green reactive = purple.

These are just some fabrics I already dyed a while ago that I overdyed. Far left was bright green and fuschia, I got it wet and scrunched it into a container and poured diluted bleach over it (like the low water immersion technique). Then once I saw it was acutally doing something, I took it out, rinsed it and put it in Anti-Chlor for 5 minutes and then washed/rinsed it out. The middle one started out a light brown/tan low water immersion and then I did low water again with a reddish brown that is now more red-orange. And on the right is the same light brown/tan low water fabric that I screen printed with purple.
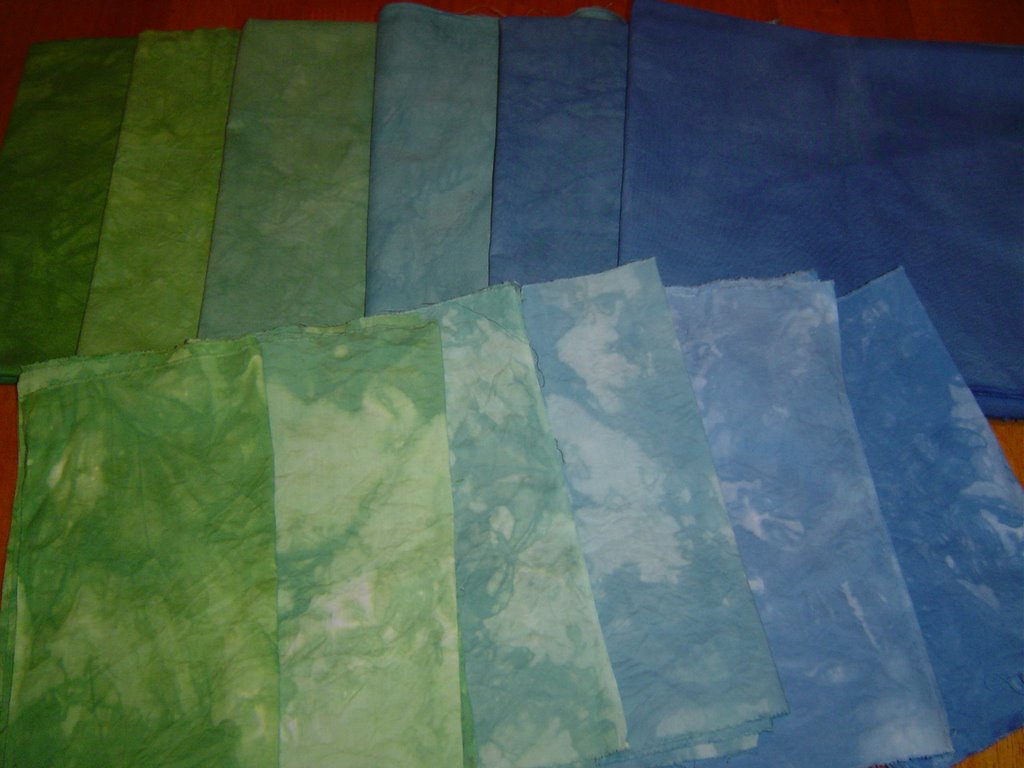
These are 2 6-step gradations between green and blue. I sorta forgot that when you mix blue and green you get turquoise. I'm not a huge fan of turquoise, but I'm sure I'll use these for something. I used the instructions from Elin Noble's book, Dyes and Paints. Except I do mine flat on the table with a paint brush, instead of standing in front of 6 buckets for an hour stirring them all.
That's all I have for ya at the moment. Just wanted you to know that I am actually doing stuff when I say I have school at night.
No comments:
Post a Comment